Thay đổi layout front-end của CakePHP. Xem thêm tại đây
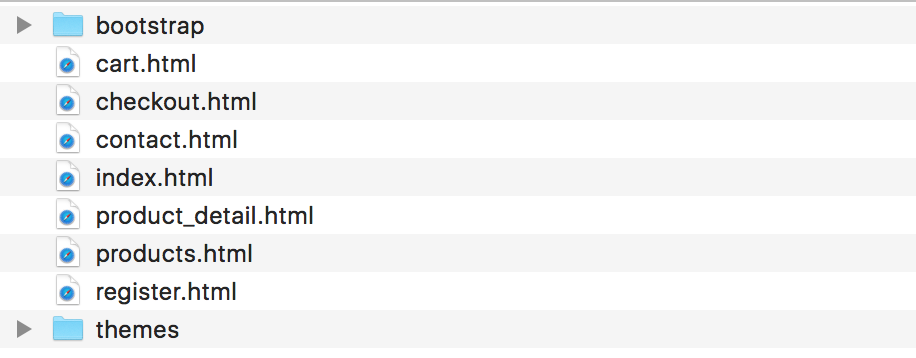
Mình sẽ sử dụng layout miễn phí Shopper để làm giao diện cho website truyện tranh các bạn có thể download về ở đây, sau đó giải nén sẽ được các thư mục và file như trong ảnh.
Tạo một thư mục template_story trong app/webroot/ và copy toàn bộ file và thư mục phía trên vào.
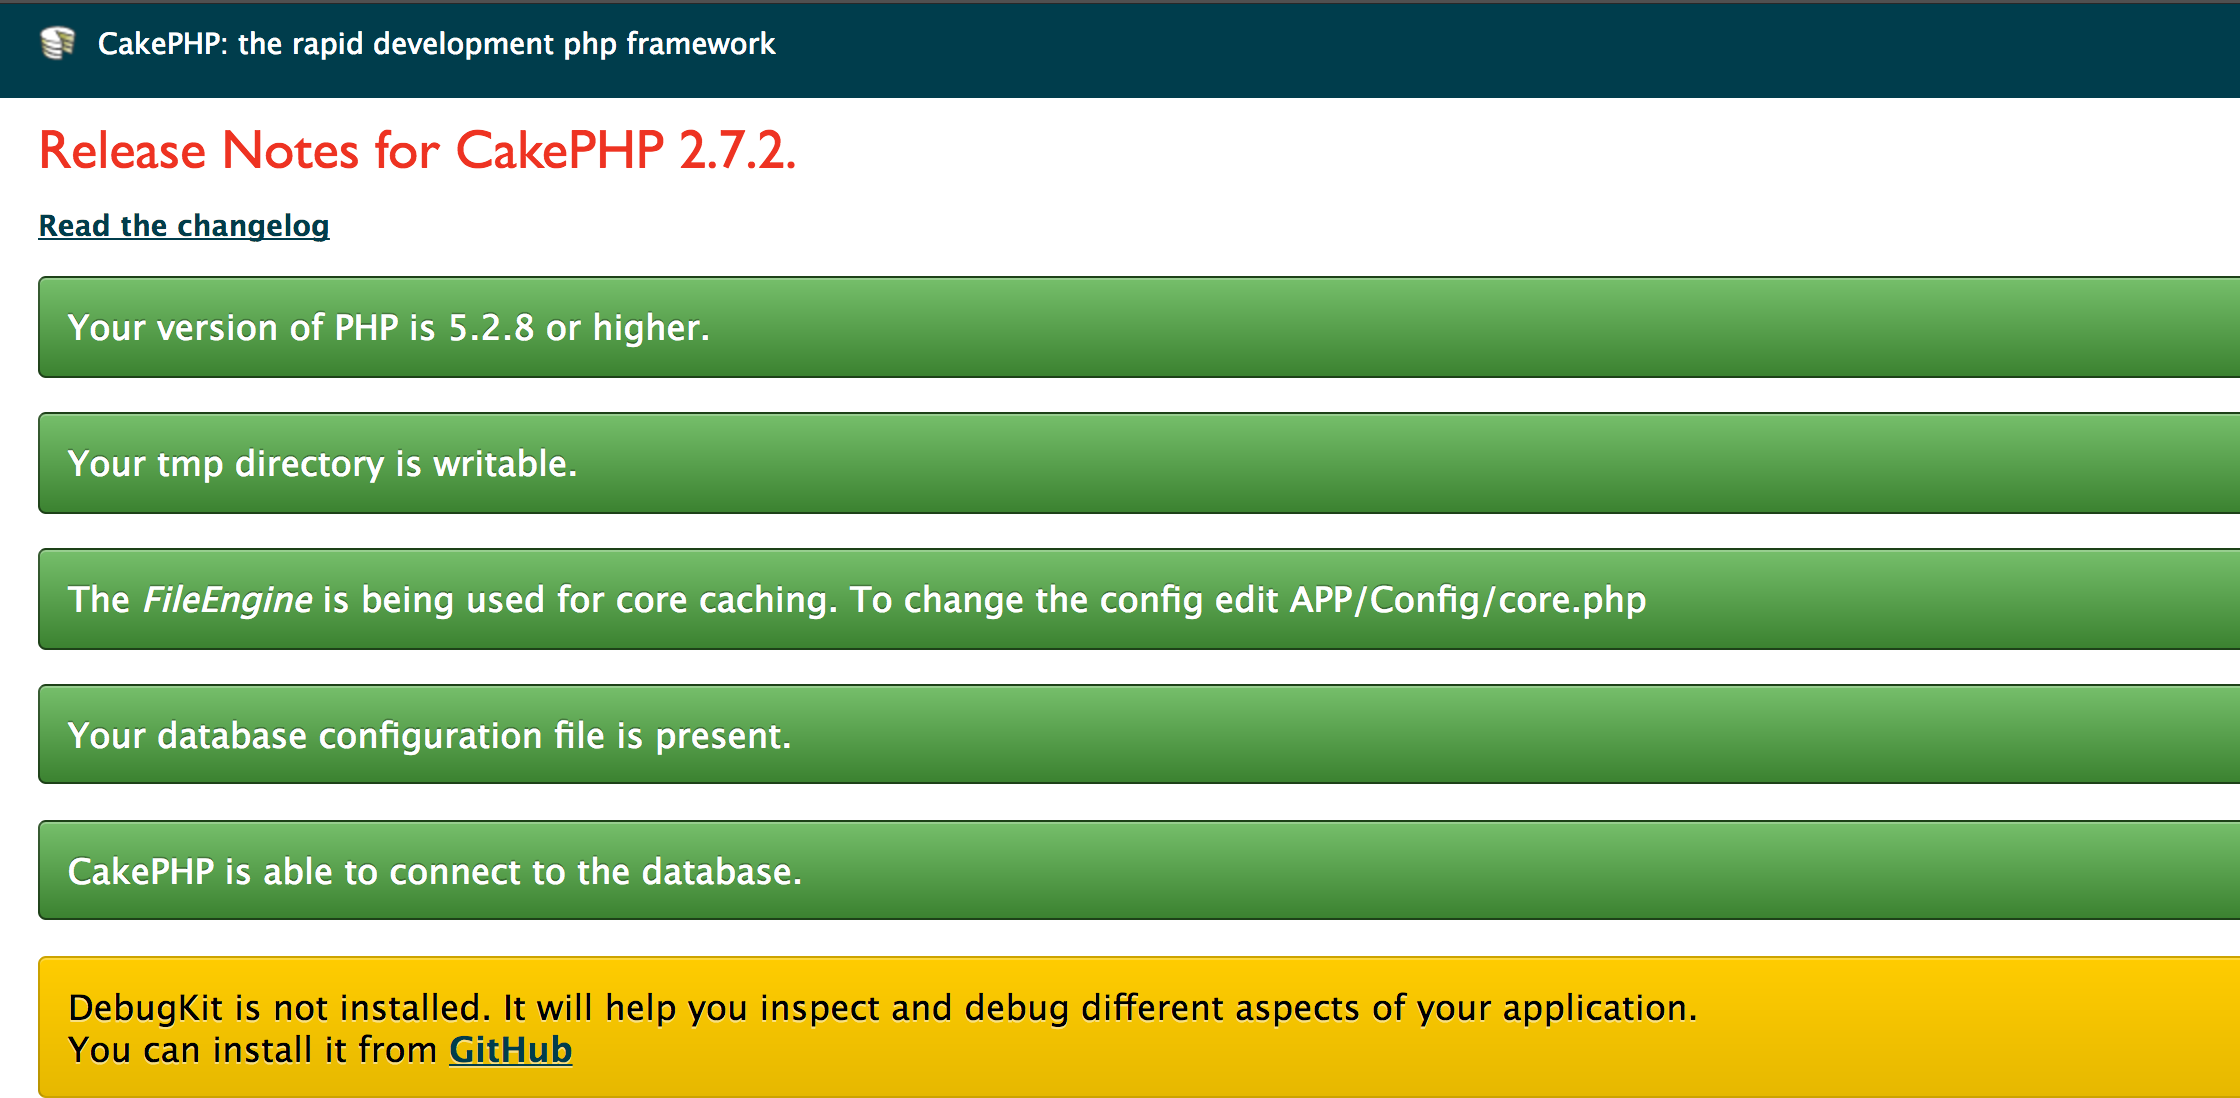
Khi chúng ta chạy link trang web sử dụng tên miền ảo là http://doctruyen.local/, không chạy link vào đăng nhập admin sẽ có giao diện.
và đó là giao diện mặc định, nó sử dụng file app/View/Layouts/default.ctp, khi chúng ta không khai báo biến public $layout = ”; ở đầu các file Controller nó sẽ sử dụng layout mặc định này.
Bây giờ chúng ta tiến hành thay đổi nó thành layout chúng ta vừa copy xong.
Đầu tiên tạo một file /app/View/Layouts/story.ctp trước mắt cứ để rỗng(mình test từ từ để hiểu).
Chỉnh sửa controller là /app/Controller/PagesController.php, đây là controller chính để thực hiện các action ngoài front-end. Mở nó lên sẽ có một action display() mình tiến hành xoá luôn action và tạo một action mới có tên là index() nội dung như sau:
[php]
public function index() {
echo "PagesController , Action Index";
}
[/php]
Tạo thêm file /app/View/Pages/index.ctp nội dung rỗng luôn.
Mở file /app/Config/routes.php tìm đến dòng
[php]
Router::connect(‘/’, array(‘controller’ => ‘pages’, ‘action’ => ‘display’, ‘home’));
[/php]
và thay đổi thành
[php]
Router::connect(‘/’, array(‘controller’ => ‘pages’, ‘action’ => ‘index’));
[/php]
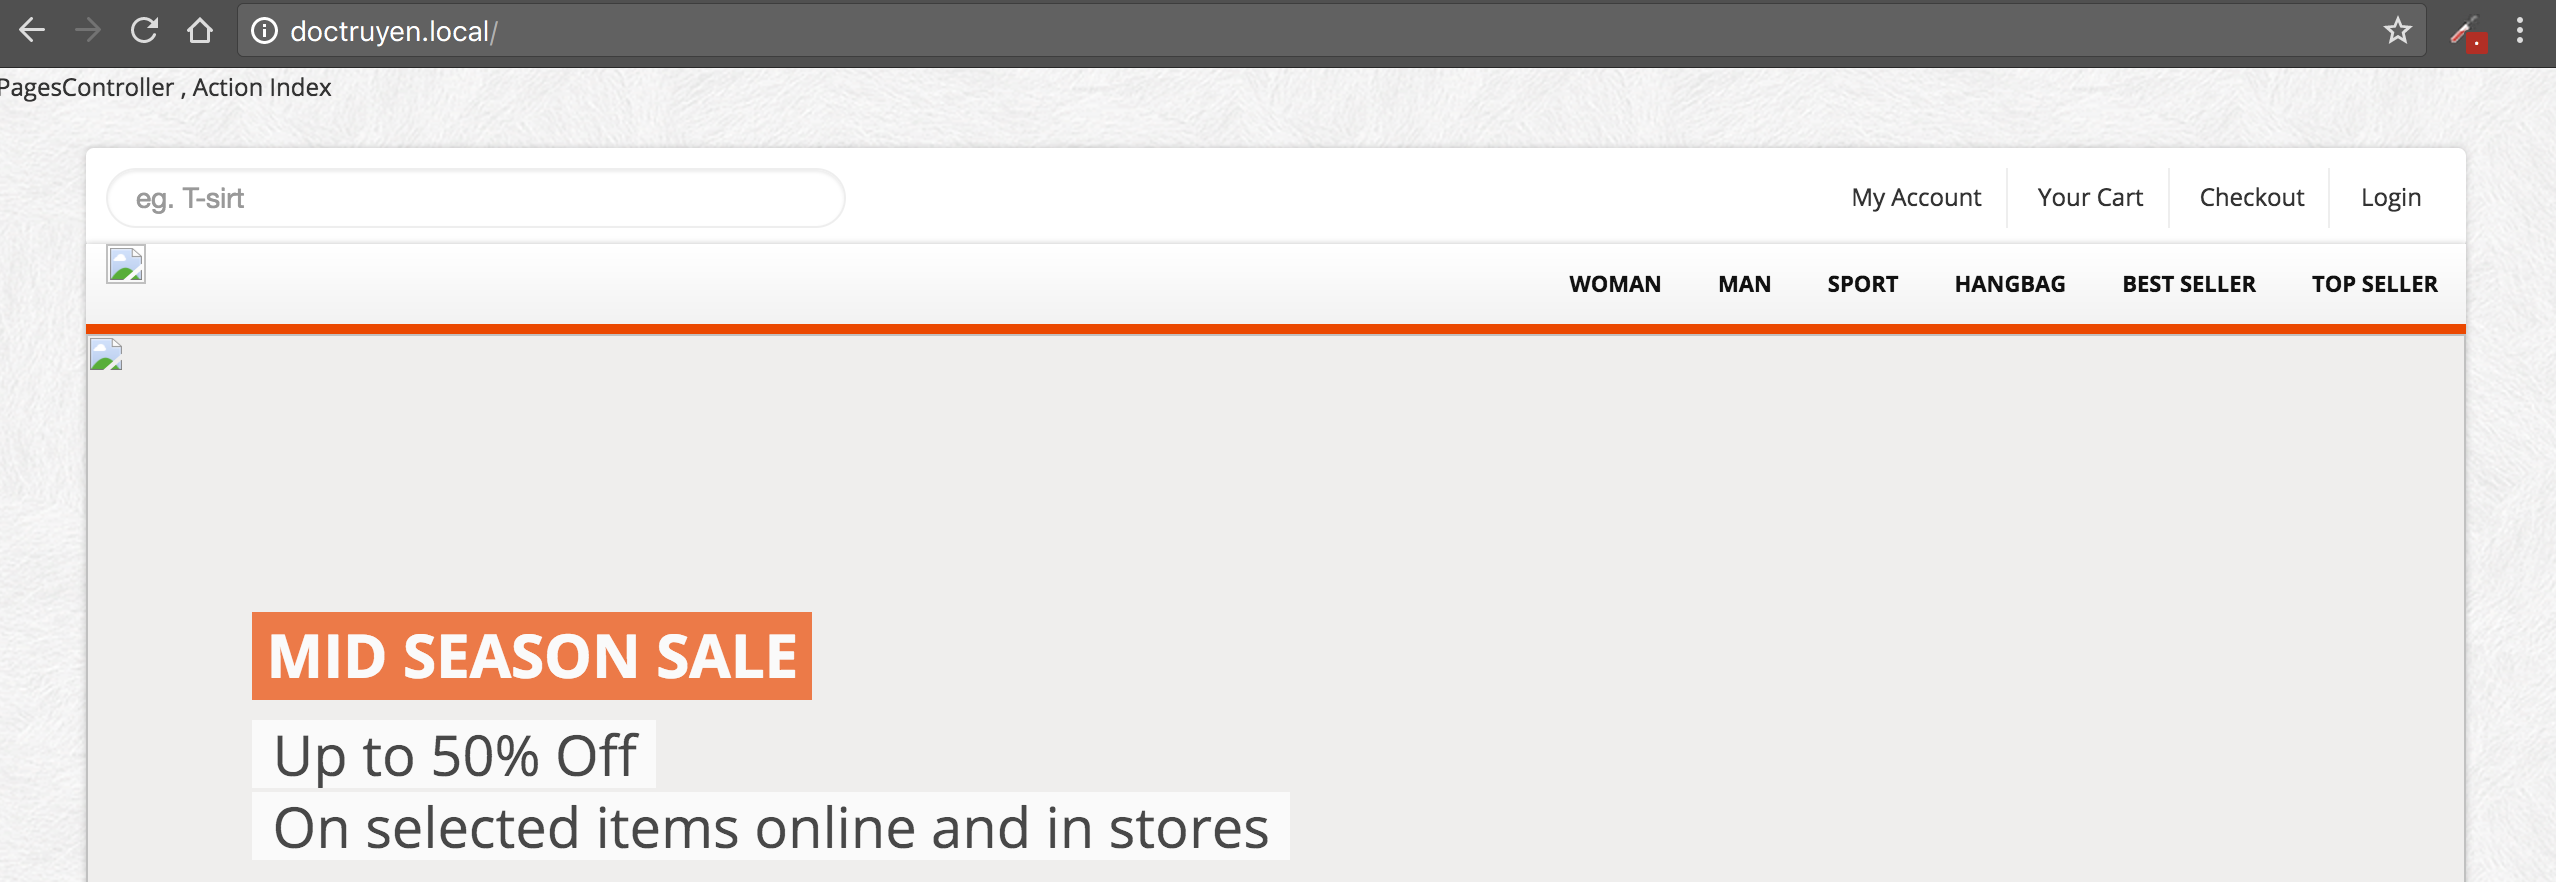
Tiến hành chạy url http://doctruyen.local/ sẽ có được như sau:
Ok, bây giờ ta thêm dòng này vào bên ngoài ở trên action index() trong PagesController.php public $layout = “story”; , với story chính là layout chúng ta vừa tạo ở /app/View/Layouts/story.ctp, chạy lại trang web bạn sẽ thấy sự khác biệt.
Nó sẽ không còn chạy layout default.ctp nữa mà thay vào đó là story.ctp ở /app/View/Layouts/
Bước tiếp theo ta sẽ mở file /app/webroot/template_story/index.html, copy toàn bộ trong file này dán vào trong /app/View/Layouts/story.ctp
Tạo thư mục /app/View/Elements/story, sau đó tạo thêm file /app/View/Elements/story/head.ctp, cắt toàn bộ đoạn html trong thẻ <head></head> đó dán vào head.ctp và thay thế đoạn <head></head> bằng đoạn sau:
[php]
<?php echo $this->element(‘story/head’);?>
[/php]
Cuối file /app/View/Layouts/story.ctp cũng có js các bạn đem nó qua head.ctp luôn.
Nội dung file head.ctp sau khi copy và chỉnh sửa đường dẫn css, js
[php]
<head>
<meta charset="utf-8">
<title>Bootstrap E-commerce Templates</title>
<meta name="viewport" content="width=device-width, initial-scale=1.0">
<meta name="description" content="">
<!–[if ie]><meta content=’IE=8′ http-equiv=’X-UA-Compatible’/><![endif]–>
<?php
echo $this->Html->css(array(
‘../template_story/bootstrap/css/bootstrap.min.css’,
‘../template_story/bootstrap/css/bootstrap-responsive.min.css’,
‘../template_story/themes/css/bootstrappage.css’,
‘../template_story/themes/css/flexslider.css’,
‘../template_story/themes/css/main.css’,
),array(‘rel’=>"stylesheet"));
?>
<!– scripts –>
<?php
echo $this->Html->script(array(
‘../template_story/themes/js/jquery-1.7.2.min.js’,
‘../template_story/bootstrap/js/bootstrap.min.js’,
‘../template_story/themes/js/superfish.js’,
‘../template_story/themes/js/jquery.scrolltotop.js’,
‘../template_story/themes/js/common.js’,
‘../template_story/themes/js/jquery.flexslider-min.js’,
));
?>
<script type="text/javascript">
$(function() {
$(document).ready(function() {
$(‘.flexslider’).flexslider({
animation: "fade",
slideshowSpeed: 4000,
animationSpeed: 600,
controlNav: false,
directionNav: true,
controlsContainer: ".flex-container" // the container that holds the flexslider
});
});
});
</script>
<!–[if lt IE 9]>
<script src="http://html5shim.googlecode.com/svn/trunk/html5.js"></script>
<script src="js/respond.min.js"></script>
<![endif]–>
</head>
[/php]
Tiếp tục tạo thêm file /app/View/Elements/story/footer.ctp
Tượng tự như head.ctp các bạn cắt phần nào cần thay thế trong /app/View/Layouts/story.ctp rồi đưa sang footer.ctp đổi nó thành <?php echo $this->element(‘story/footer’);?>, quan sát thấy ở footer có 2 id không thay đổi đều được hiển thị ở tất cả các trang là footer-bar và copyright nên mình sẽ đưa nó sang footer.ctp
Nội dung của footer.ctp lúc này sẽ thành
[php]
<section id="footer-bar">
<div class="row">
<div class="span3">
<h4>Navigation</h4>
<ul class="nav">
<li><a href="./index.html">Homepage</a></li>
<li><a href="./about.html">About Us</a></li>
<li><a href="./contact.html">Contac Us</a></li>
<li><a href="./cart.html">Your Cart</a></li>
<li><a href="./register.html">Login</a></li>
</ul>
</div>
<div class="span4">
<h4>My Account</h4>
<ul class="nav">
<li><a href="#">My Account</a></li>
<li><a href="#">Order History</a></li>
<li><a href="#">Wish List</a></li>
<li><a href="#">Newsletter</a></li>
</ul>
</div>
<div class="span5">
<p class="logo"><img src="themes/images/logo.png" class="site_logo" alt=""></p>
<p>Lorem Ipsum is simply dummy text of the printing and typesetting industry. the Lorem Ipsum has been the industry’s standard dummy text ever since the you.</p>
<br/>
<span class="social_icons">
<a class="facebook" href="#">Facebook</a>
<a class="twitter" href="#">Twitter</a>
<a class="skype" href="#">Skype</a>
<a class="vimeo" href="#">Vimeo</a>
</span>
</div>
</div>
</section>
<section id="copyright">
<span>Copyright 2013 bootstrappage template All right reserved.</span>
</section>
[/php]
Việc tách ra các element này tuỳ theo nhu cầu các bạn, tách ra các thành phần để dễ dàng quản lý sửa lỗi thôi, đương nhiên nó có nhiều các lợi.
Đến đây bạn tiến hành chạy lại url http://doctruyen.local/ sự khác biệt sẽ được trông thấy rõ
Tiến hành chỉnh sửa đường dẫn các hình ảnh nữa là bạn sẽ có 1 page hoàn chỉnh
Trong file /app/View/Layouts/story.ctp các bạn tự làm phần tách element của thẻ div có id là top-bar nhá, nó là header.ctp.
Phần còn lại trong thẻ div có id là wrapper chính là phần nội dung trang web của chúng ta, các bạn cắt hết toàn bộ các thẻ trong id wrapper(các thẻ section ) và thay thế bằng
[php]
<?php echo $this->fetch(‘content’); ?>
[/php]
Lấy phần cắt đó dán vào /app/View/Pages/index.ctp.
Cuối cùng là chạy lại url sẽ được như sau:
Trên đây phần thay đổi layout ngoài front-end, tiếp theo chúng ta sẽ hiển thị các truyện ra ngoài trang chủ theo cấu trúc hiện có của layout, menu truyện,…. hy vọng các bạn theo dõi cùng nongdanit
[create_button_post thamso1=” thamso2=’Demo’ thamso3=’http://nongdanit.info/download/cakephp/bai29/doctruyen.zip’] [/create_button_post]
[thongbao]
- Nếu có thắc mắc gì các bạn để lại comment bên dưới mình sẽ trả lời sớm nhất có thể.
- Cảm ơn các bạn đã đọc.
[/thongbao]


